Welcome to Fulxing Intelligent - SMT Automation Equipment
 简体中文

Customer Service Hotline
18565526634
Welcome to Fulxing Intelligent - SMT Automation Equipment
18565526634
Contact: Mr. Yang
Mobile: 18565526634
Tel: 18565526634
Email: 1404870852@qq.com
Address: Songyu Rd 142, Songgang St, Bao'an Dist., Shenzhen, China
Two shifts, same machine, same board. One team changes over in forty minutes, the other takes three hours. The machine is not the variable. The variable is whether there is a fixed sequence of actions or whether everyone works from instinct and experience.
Six steps. Tick each one off and the time drops, along with the mistakes.

The step most often skipped, and the one that causes the worst failures.
Reels from the previous board still mounted, a half-finished board on the rail, loose components in the tray. None of it looks dangerous. All of it carries the risk of mixing materials. Insert one resistor of the wrong value and the machine will not complain. You find out after reflow, when a batch has already been built.
Three actions, two minutes: unload and store the remaining tape from the feeders, clear boards from the rail and transfer station, empty the component trays and scrap bin.
Some components on the new BOM are shared with the previous product, some are not. Work from the station list, not from memory.
Station layout deserves thought. Put the high-frequency parts, the common resistor and capacitor values, on fixed front stations, and change only the rear stations at changeover. On boards with more component types than the machine has stations, production stops mid-run to swap reels, which eats capacity directly. Report your BOM component count to the supplier during selection and have them size the station count. Fixing it later is expensive.
Two checks after loading: tape tension, and tape orientation. Reversed tape produces a persistent error that sends people hunting for the wrong cause.
Board width changed, so the rail changes with it. Modern machines use servo width adjustment: enter the dimension, done. No wrench, unlike older equipment.
Do not walk away after the rail. Check the support pins. They hold the board flat and stop it flexing during insertion. A pin sitting under a component hole will damage the lead or prevent full insertion. New board, new component layout, so the pins need repositioning every time.
The classic failure at this step is board clamping. Rail set a fraction off the board width, the board sticks on entry, an operator pushes harder, and the edge crumbles.
Two sources: build a new one, or call up a stored recipe.
When building new, only a few parameters actually change: Mark point position, board origin, insertion sequence. Most other settings carry over. Machines with graphical programming let the operator click positions directly on a board image, with no code and no point-by-point teaching. That single difference drives most of the changeover speed gap, and it is worth testing specifically during a demo.
For repeat products, the program should already be in the system. Enter the product code, load the recipe. A machine holding hundreds or thousands of recipes is a fundamentally different production tool from one that must be reprogrammed each time, especially in mixed-production plants.
One caution: a loaded program does not guarantee a correct insertion. Hole diameter and copper thickness differ between boards, so insertion depth needs checking too.
The only quality gate in the whole changeover, and the one most easily fudged.
Some teams check only that components went in. The board looks full, so it passes. What actually needs checking is four things. Position, meaning nothing sitting outside its hole. Polarity, since reversed diodes and electrolytic capacitors are the most common hidden defect. Insertion depth, because a lead that has not fully passed through the hole becomes a cold joint after reflow. Lead length, since a dull cutting blade leaves them uneven.
A failed first article does not get released. Releasing it and discovering the problem a batch later costs dozens of times more than the inspection.
Where possible, look at the solder side of the first board under magnification or AOI. Consistent lead protrusion is far easier to judge from the back than the front.
Three numbers: how long the changeover took, the first article result, what went wrong.
The record serves two purposes. Next time the same product runs, you can see where the time went and improve it. And it gives shift performance an objective basis, instead of "changeover is slow" being an argument nobody can settle.
Keep it simple: a table with date, product code, elapsed time and notes. Three months of that and your own distribution appears.
Break a changeover down and the time sits in three places: finding and loading material, setting up and programming, waiting for first article sign-off.
The first is material management and station planning. Nothing to do with the machine, and usually the largest slice. The second depends on programming interface and recipe library. The third depends on inspection capability: AOI or a dedicated check station is fast, human eyes alone are slow.
Knowing which slice dominates tells you what to fix. If half the time goes to finding material, a more expensive machine will not help. Fix the racks and the labelling instead.
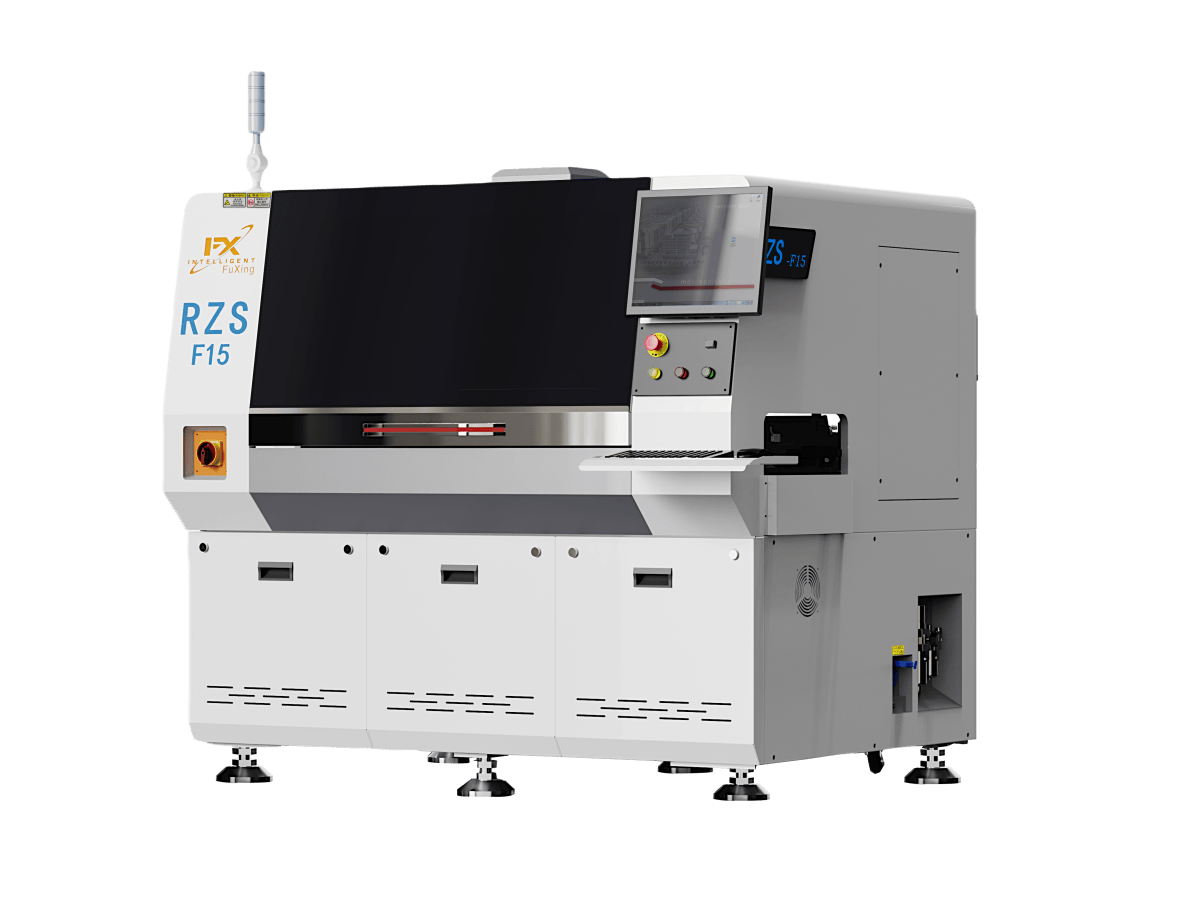
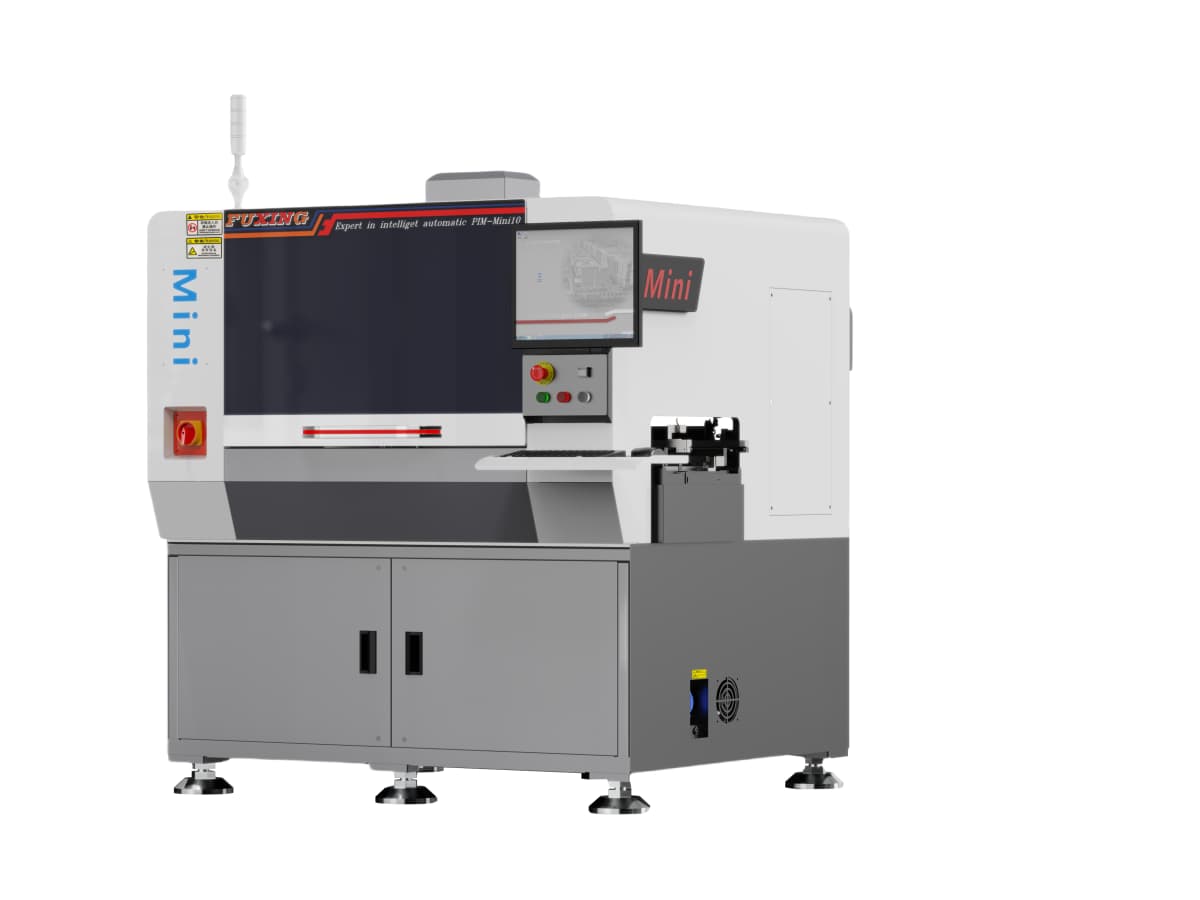
Feeders, fixtures and consumables are listed in our spare parts section. For lines that change over often and need mixed machine types, it is worth looking at how odd-form inserters and automatic insertion machines combine.
Q1: How long does an insertion machine changeover take?
Under thirty minutes for single-product high-volume production. One to two hours is normal in mixed-production plants running three or four changeovers a day. The difference comes down to whether material is pre-staged, whether recipes load directly, and how fast first article is verified.
Q2: What goes wrong most often during changeover?
Mixed material and skipped first article inspection. Mixed material happens when line clearing is rushed and previous components remain on feeders. Skipped inspection happens when the check is limited to "did it go in". Both produce whole-batch defects.
Q3: Can programs be reused?
Yes, and mixed-production plants should require it. Once a product has run, its parameters stay in the system, and the next changeover only needs Mark point and board origin adjusted. Whether the machine stores hundreds or tens of thousands of recipes is a specification worth asking about during selection.

Copyright © 2002-2026 Shenzhen Fulxing Intelligent Equipment Co., Ltd. All rights reserved. ICP License:
Service Hotline